Why Posca Drawings Get Worse Before They Get Better
May 15, 2026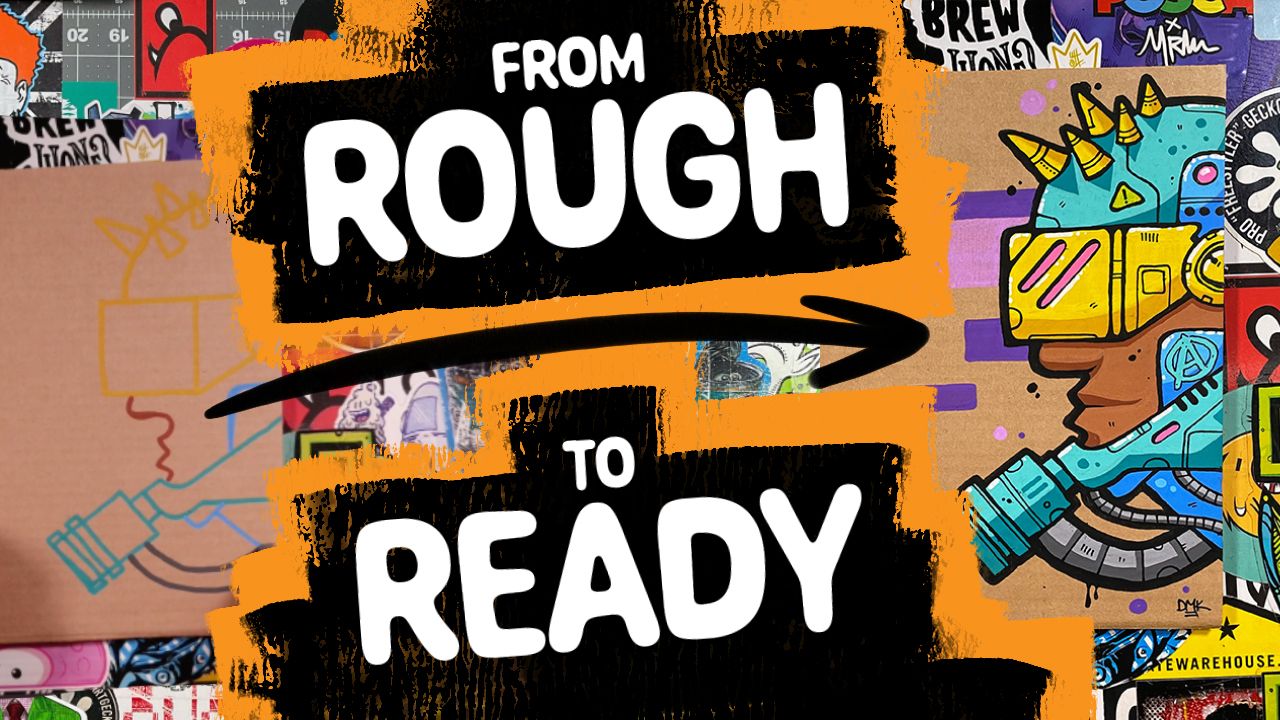
One of the biggest mistakes people make when learning to draw is judging the artwork far too early. They put a few lines down, decide it looks wrong, then immediately restart. A few more lines go down, confidence drops again, and the whole process repeats itself. Before long, they have spent more time restarting drawings than actually learning from them.
I see this happen constantly during live sessions, especially right at the start of a drawing. The strange thing is that the drawing is rarely failing at that stage. It just has not had enough time to become anything yet.
That is one of the reasons I use what I now think of as the Rough to Ready framework in a lot of my tutorials. It is not really about making every drawing turn out perfectly, because some drawings still end up rubbish at the end and that is part of being creative. The framework is more about understanding where you are in the process, so you do not panic and abandon the drawing before it has had a fair chance.
The framework splits the drawing into four stages: guidelines, colouring, outlines, and finishing touches. The first two stages are messy and loose. The second two stages are where things begin tightening up and coming together. Once you understand that, it becomes much easier to tolerate the awkward early stages that almost every drawing goes through.
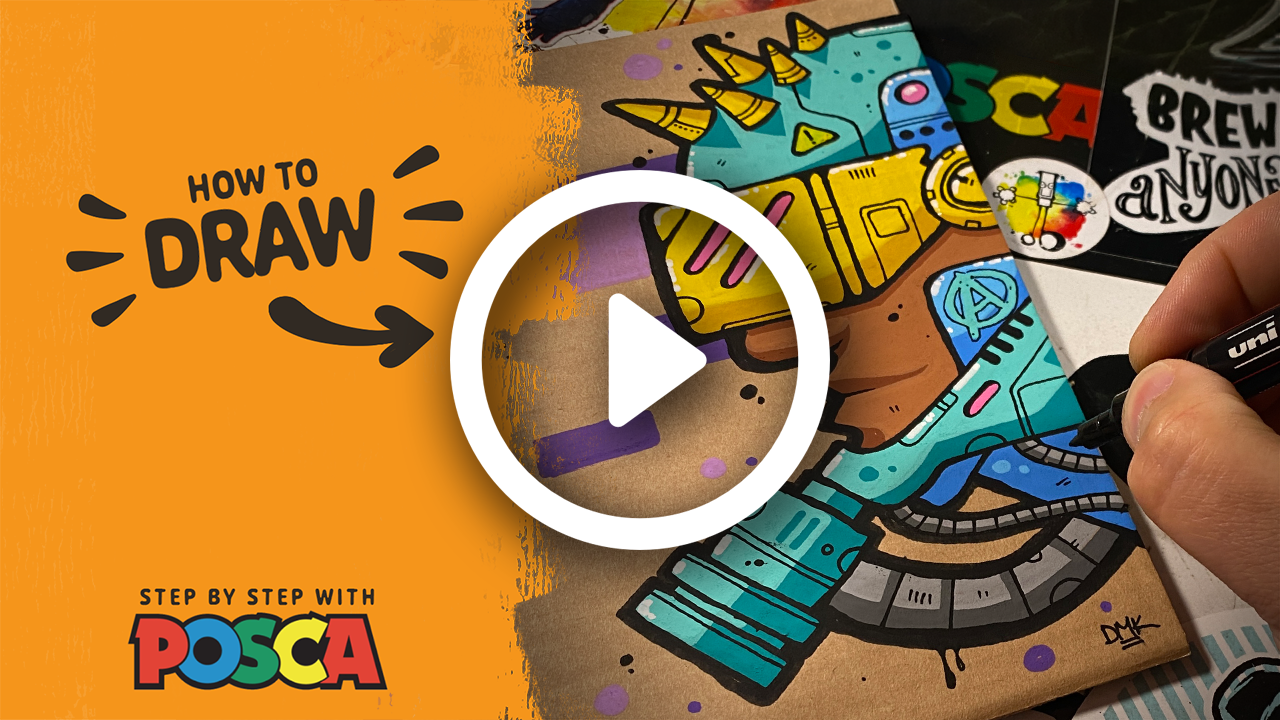
In this recent sci-fi character tutorial from Posca Club, you can actually see that process happen in real time.
Right at the start of the tutorial, around the 2 minute mark, I go straight in with paint markers rather than sketching everything out lightly in pencil first. The initial face mask is built using chunky shapes, and at that stage it honestly does not look like much at all. There are a few rough curves, some awkward rectangles, and a strange collection of lines sitting on a piece of scrap cardboard.
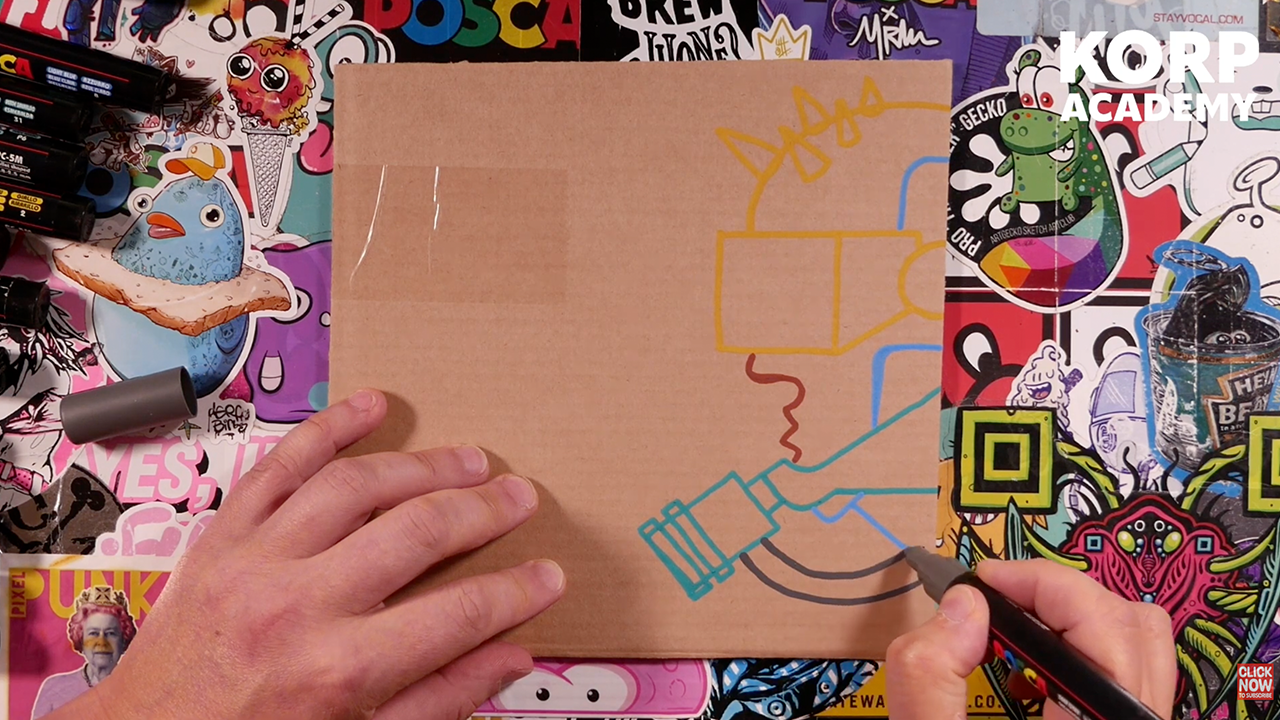
That roughness is important though, because the guidelines stage is not supposed to look impressive. The job of those first lines is simply to give the drawing somewhere to go. Going straight in with paint markers also changes the mindset a little bit. Without a pencil and eraser acting like a security blanket, you start getting used to placing lines with more intent. The drawing becomes less about trying to avoid mistakes and more about reacting to them as the piece develops.
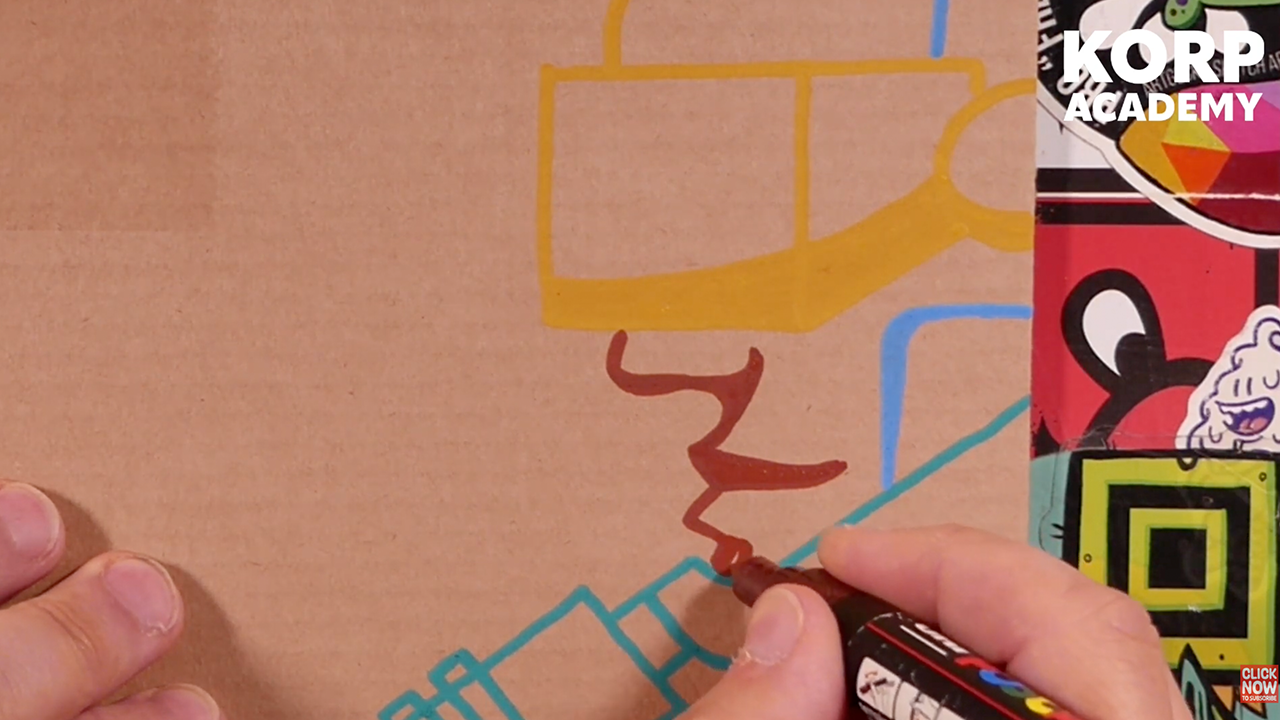
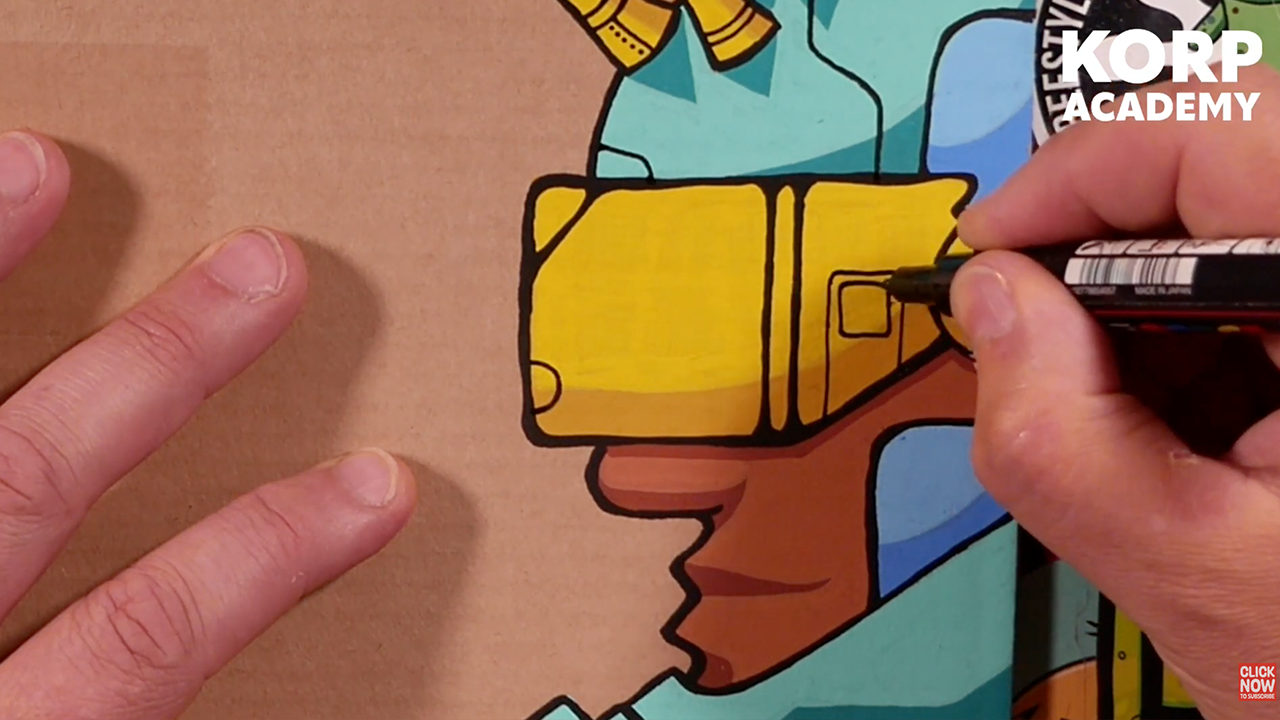
One of the advantages of working with paint markers is that those early chunky guidelines are not permanent in the same way ink lines usually are. At around 20 minutes into the tutorial, the lighter colours begin cutting back into the darker shapes and suddenly those thick awkward lines start becoming much sharper and more controlled.
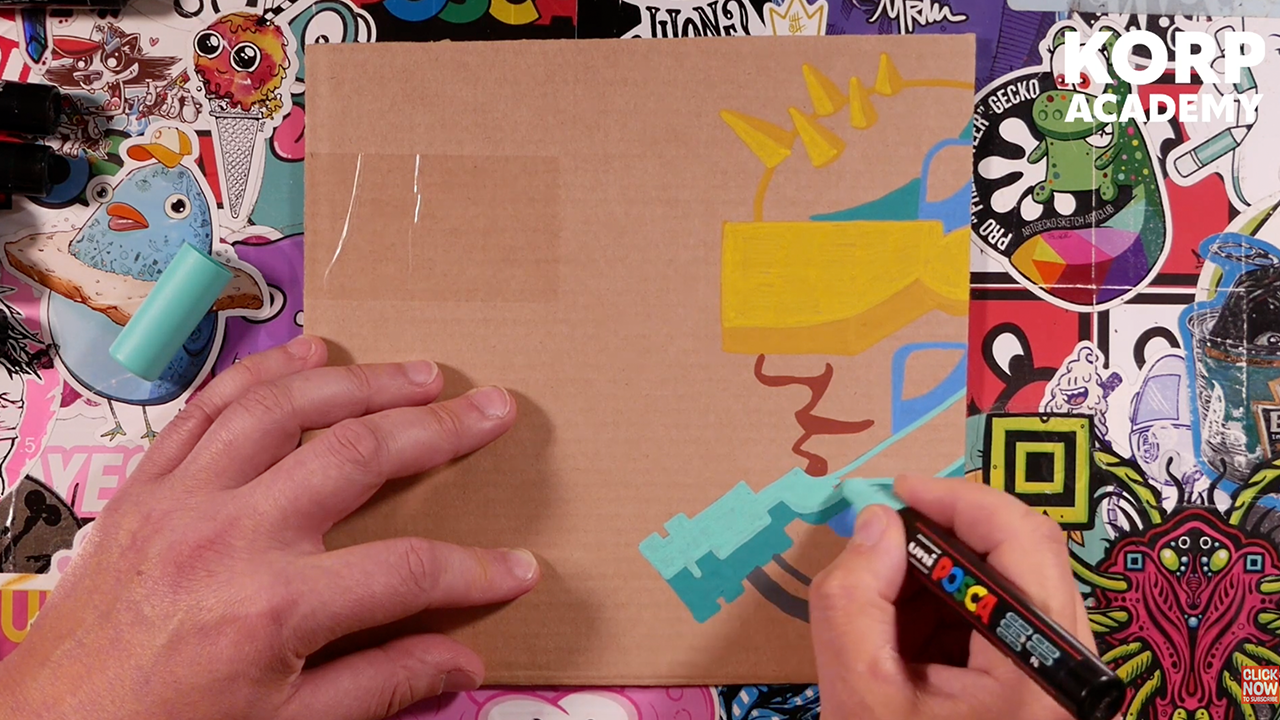
That is one of the key things people miss when they judge drawings too early. In the colouring stage, especially with Poscas, a lot of the artwork is still being reshaped. Thick shadows become cleaner. Rough edges get carved back. Whole sections disappear under new layers of paint. A line that looked completely wrong ten minutes earlier can suddenly become part of a really nice shape.
The colouring stage is also where I deliberately try to think less and do more. Around the 13 minute mark, when the face shadows start going in, the shapes are intentionally a bit oversized and loose. I would much rather throw shadows in confidently and adjust them later than sit there freezing because I am trying to calculate the perfect shadow placement before I have even built the drawing properly.
That loose approach carries through most of stages one and two. The idea is not to make the drawing look finished immediately. The idea is to create momentum. If you spend all your energy trying to make the early stages look polished, you usually end up slowing yourself down so much that the drawing loses its life.
Around the 16 minute mark, there is a section where I literally say I am “just chucking colours in and seeing how it goes.” That sounds chaotic on paper, but it is surprisingly important creatively. Some of the best shapes and textures appear because you allowed yourself to keep moving instead of over-analysing every decision.
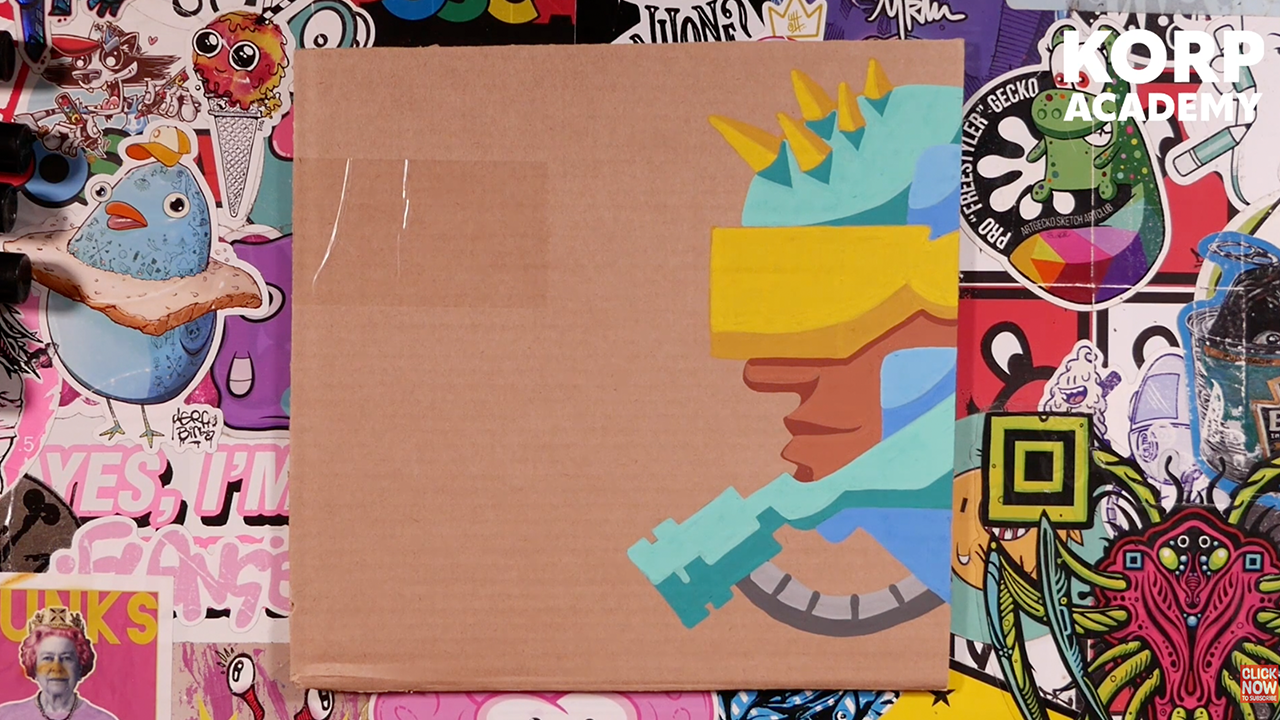
The halfway point of the drawing is probably the best example of why this framework matters. Around the 35 minute mark, the guidelines and colouring stages are basically complete. The character looks messy, the shadows are rough, some proportions still feel questionable, and bits of the drawing are sitting awkwardly on top of each other.
That is usually the exact point where people decide the drawing has failed.
The interesting thing is that the drawing often improves massively from that point onward, because outlines change everything. At around 40 minutes, the thicker black outlines begin going in with the 3M pen, and suddenly the shapes start feeling intentional. The rough edges become cleaner, the forms gain structure, and the character starts reading properly as a finished design instead of a collection of coloured shapes.
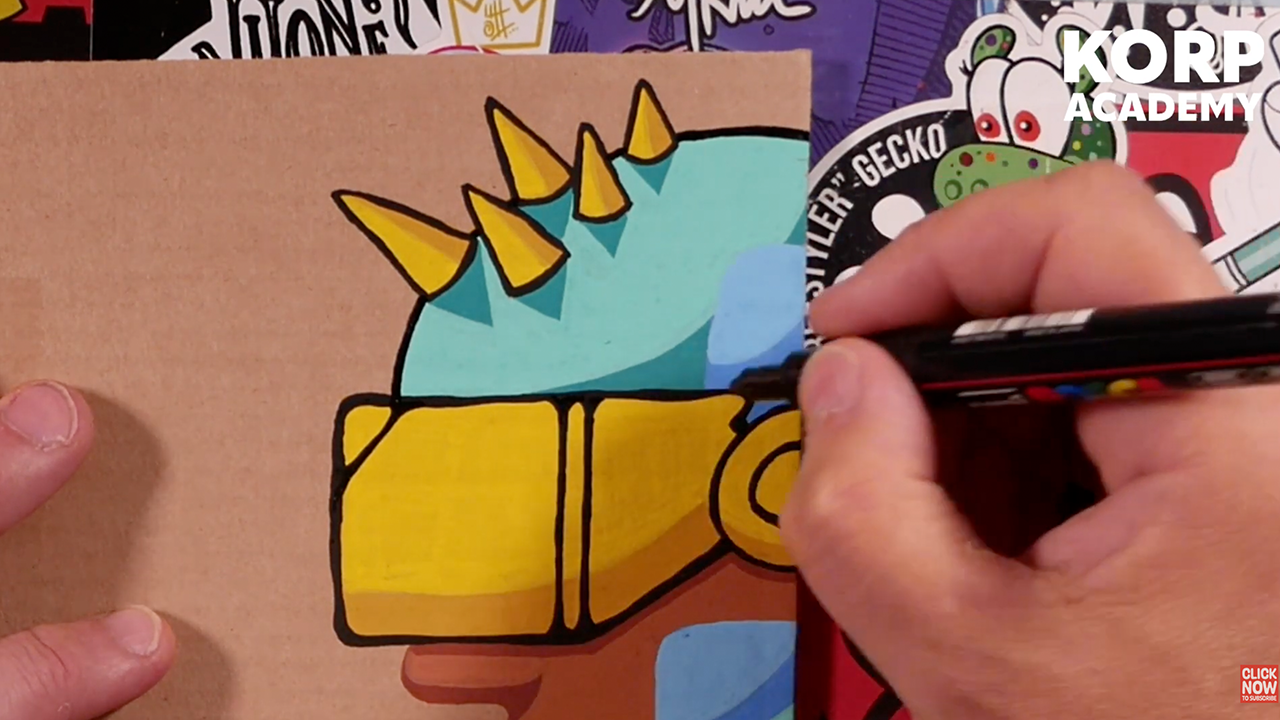
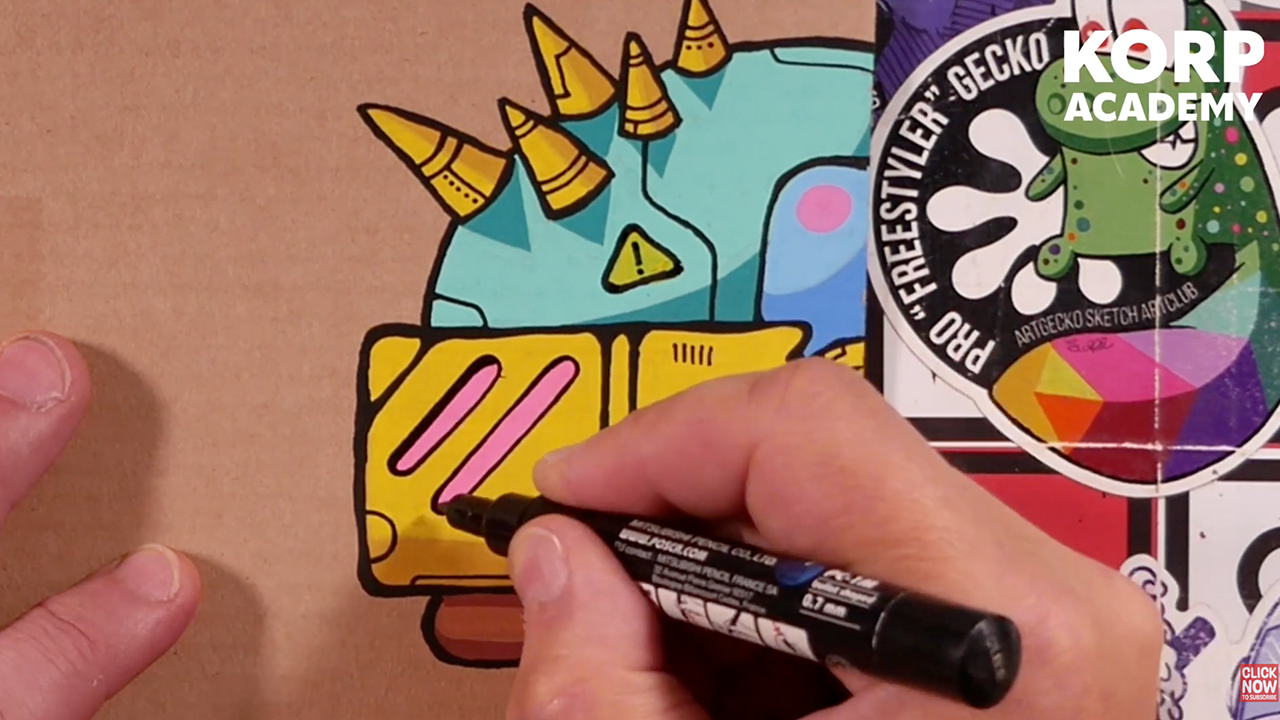
This is also why I like using thick and thin black lines together. The larger outlines do the heavy lifting structurally, then the thinner pen starts adding secondary detail later on. Around the 51 minute mark, all the smaller sci-fi details begin appearing: vents, panels, extra sections, cables and little shape lines that make the character feel more believable and designed.
What I like about the final stage is that the thinking starts increasing again. Stages one and two are mostly about movement and experimentation. Stage three is about structure. Stage four is where the personality really comes in.
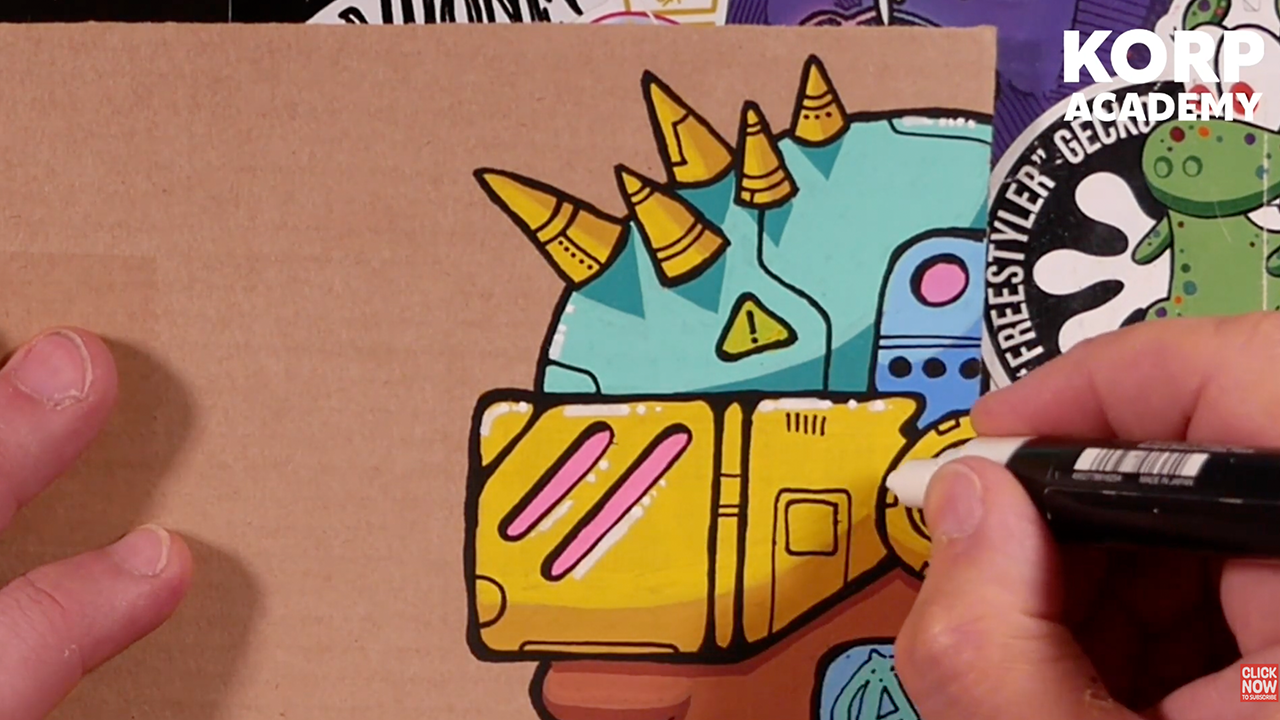
At around 1 hour 1 minute, the finishing touches begin going on. Tiny hazard stickers, little lights, graffiti, reflections, extra cables and scratches all start getting layered over the drawing.
This is where the artwork stops feeling generic and starts feeling personal. You are no longer just trying to complete the drawing correctly. You are reacting to it, pushing it around, testing ideas and adding bits of your own style into the piece.
Some of my favourite moments in the tutorial happen right at the end, especially when the white reflections begin going in around 1 hour 10 minutes. Those tiny little dashes and spots of white suddenly make the helmet and lights feel glossy and alive without requiring anything especially technical.
There is also a section later on where I start experimenting with background colours and power lines around the outside edge. I was genuinely unsure whether it would improve the piece or completely ruin it. That uncertainty never really disappears when you draw. Even after years of doing it, there are still moments where you try something and hope for the best.
That is another reason I like the Rough to Ready mindset so much. It creates space for experimentation. When you understand that the drawing is allowed to look rough for a while, you stop treating every line like a final decision. You become more willing to test things, react to accidents, and let the artwork evolve naturally.
The important thing is not that every drawing succeeds. Plenty do not. The important thing is giving the drawing long enough to become something before deciding whether it works or not.
So next time you sit down with your paint markers and the first few lines feel awkward, remember where you are in the process. If you are still in stages one or two, it is probably far too early to judge the drawing properly.
Keep moving.
Keep layering.
Let it get messy for a bit.
You might still end up with a terrible drawing in the end, but you also might be halfway through something that just has not come together yet.
- Korp